This tutorial will show you how to use the timeline controls to make a simple police light
animation.
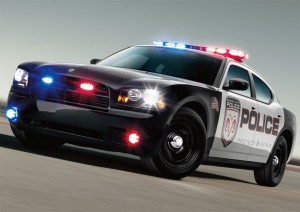
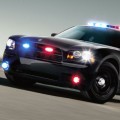
We start with a still picture of a police car.
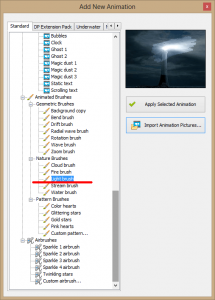
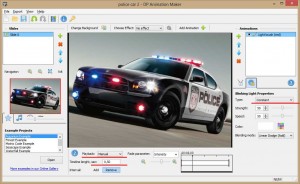
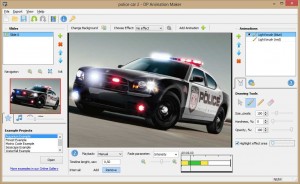
Open it in DesktopPaints’ animation editor, click the Add animation button, and add the Light brush from the list.
Change the Type parameter to Constant, Playback to Manual, and Timeline length to 0.5 sec.
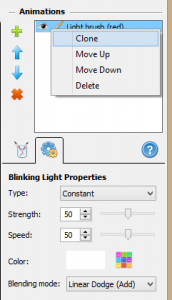
Create a copy of the animation layer by right-clicking on it and selecting Clone.
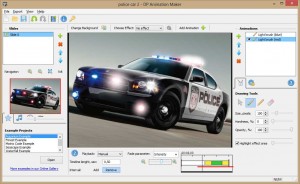
Select one of the Light brush layers and add the time interval as sown on the screen shot. It should cover the first half of our timeline. (Use the zoom button to stretch the timeline view.)
Then paint over the blue lights of the police car.
Select the second Light brush layer, add a time interval to cover the second half of the time line, and paint over the red lights of the police car.
