In the previous lesson, we learned how to create simple animated snow. In today’s lesson we’ll continue with this effect and explore its features in details.
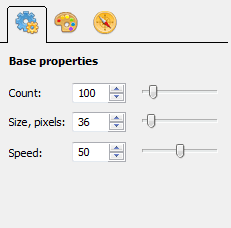
First of all, let’s look at the base options of snow effects: Count, Size, and Speed.
These three simple options allow creating a wide range of different snow scenes. Use them to change the appearance of the effect and fit it into the background geometry. Increase the size of snowflakes to make snow look closer to a viewer or make them smaller and slower, if you are creating a remote scene.
Now let’s learn how to simulate the windy weather with options that you can find in the “Motion properties” and “Base properties” sections.
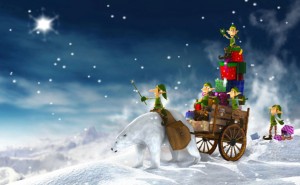
Open a scene we created in the previous lesson:
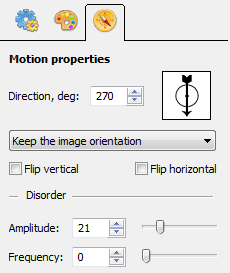
The scene with default settings looks too calm, so we need to add more action to it if we want to make it look like a blizzard. First, we will increase the speed by setting the corresponding parameter to 100. Then we will go to the “Motion settings” tab and set the Direction parameter to 320, the Amplitude to 32, and the Frequency to 4.
Now snow flies with the wind as it should, but there is one more thing what we can do to make the scene appearance much better. The trick described below can be used not only in a blizzard scene, but in almost any animation to make it look deeper and more realistic.
First, we need to add one more snow object into the scene. This new animation layer has to have twice as many objects and half the speed. Additionally, we need to decrease the Size parameter of the new animation. In our example the Count parameter has to be 200, the Speed parameter: 50, and the Size parameter: 4. Other parameters (Direction, Amplitude, and Frequency) have to be the same as in the first snow animation.
These two snow animations joined in one scene create the effect of deepness.


